23. Sandal Making - Part 1
My anxiety-filled dog barks at strangers, reacts to every little noise, and goes bat-shit crazy when the mail arrives. Still, we love him dearly. We laugh at his goofiness and revel in the warmth and softness of his snuggles. Best of all, he’s been a portal to new friendships.
Every day on our morning walk, Obi plays with his doggy pals and I get to know their humans. Lucky me! One of them, Chrissy, suggested an adventure for my quest: making sandals.
Have you ever considered making your own shoes? It never occurred to me. I usually wear my shoes until they fall apart, then I go to the store, try some on, and buy the ones that feel good. I never thought about the craftsmanship (or lack thereof) involved in their creation. I actually never thought about their creation at all.
Chrissy, on the other hand, thinks a lot about what it takes to make a high-quality sandal.
Chrissy bevels the edges of the straps for comfort
She only uses leathers that have been vegetable-tanned, for example, a traditional process in use for hundreds, if not thousands, of years. Vegetable tanning has a much lower environmental impact than chemical tanning, the more common process for producing leather, and creates strong, long-lasting leathers in natural, earthy shades.
When Chrissy’s son was younger and became interested in stuffed animals, she realized that she could DIY them pretty easily. She got herself a sewing machine and went to work. From stuffed animals, she moved on to bags, returning to a bag-making hobby she had had as a kid. She started experimenting with making leather bags, bought herself a heavier-duty sewing machine - then another one that gave her even more leather-working options - and she progressed to making sandals.
When I arrived at her house, Chrissy showed me different kinds of leather - some that stretched (and would likely stretch out if we used them for the sandals), and other, thicker pieces with less give, that will last much longer. She showed me her bags and samples of the sandals she makes.
So many choices!
Do I want an ankle strap or not? How many straps do I want across the top, and how should they be positioned? Do I want to leave an edge around the outside, or wrap the straps over the sole, leaving no edge?
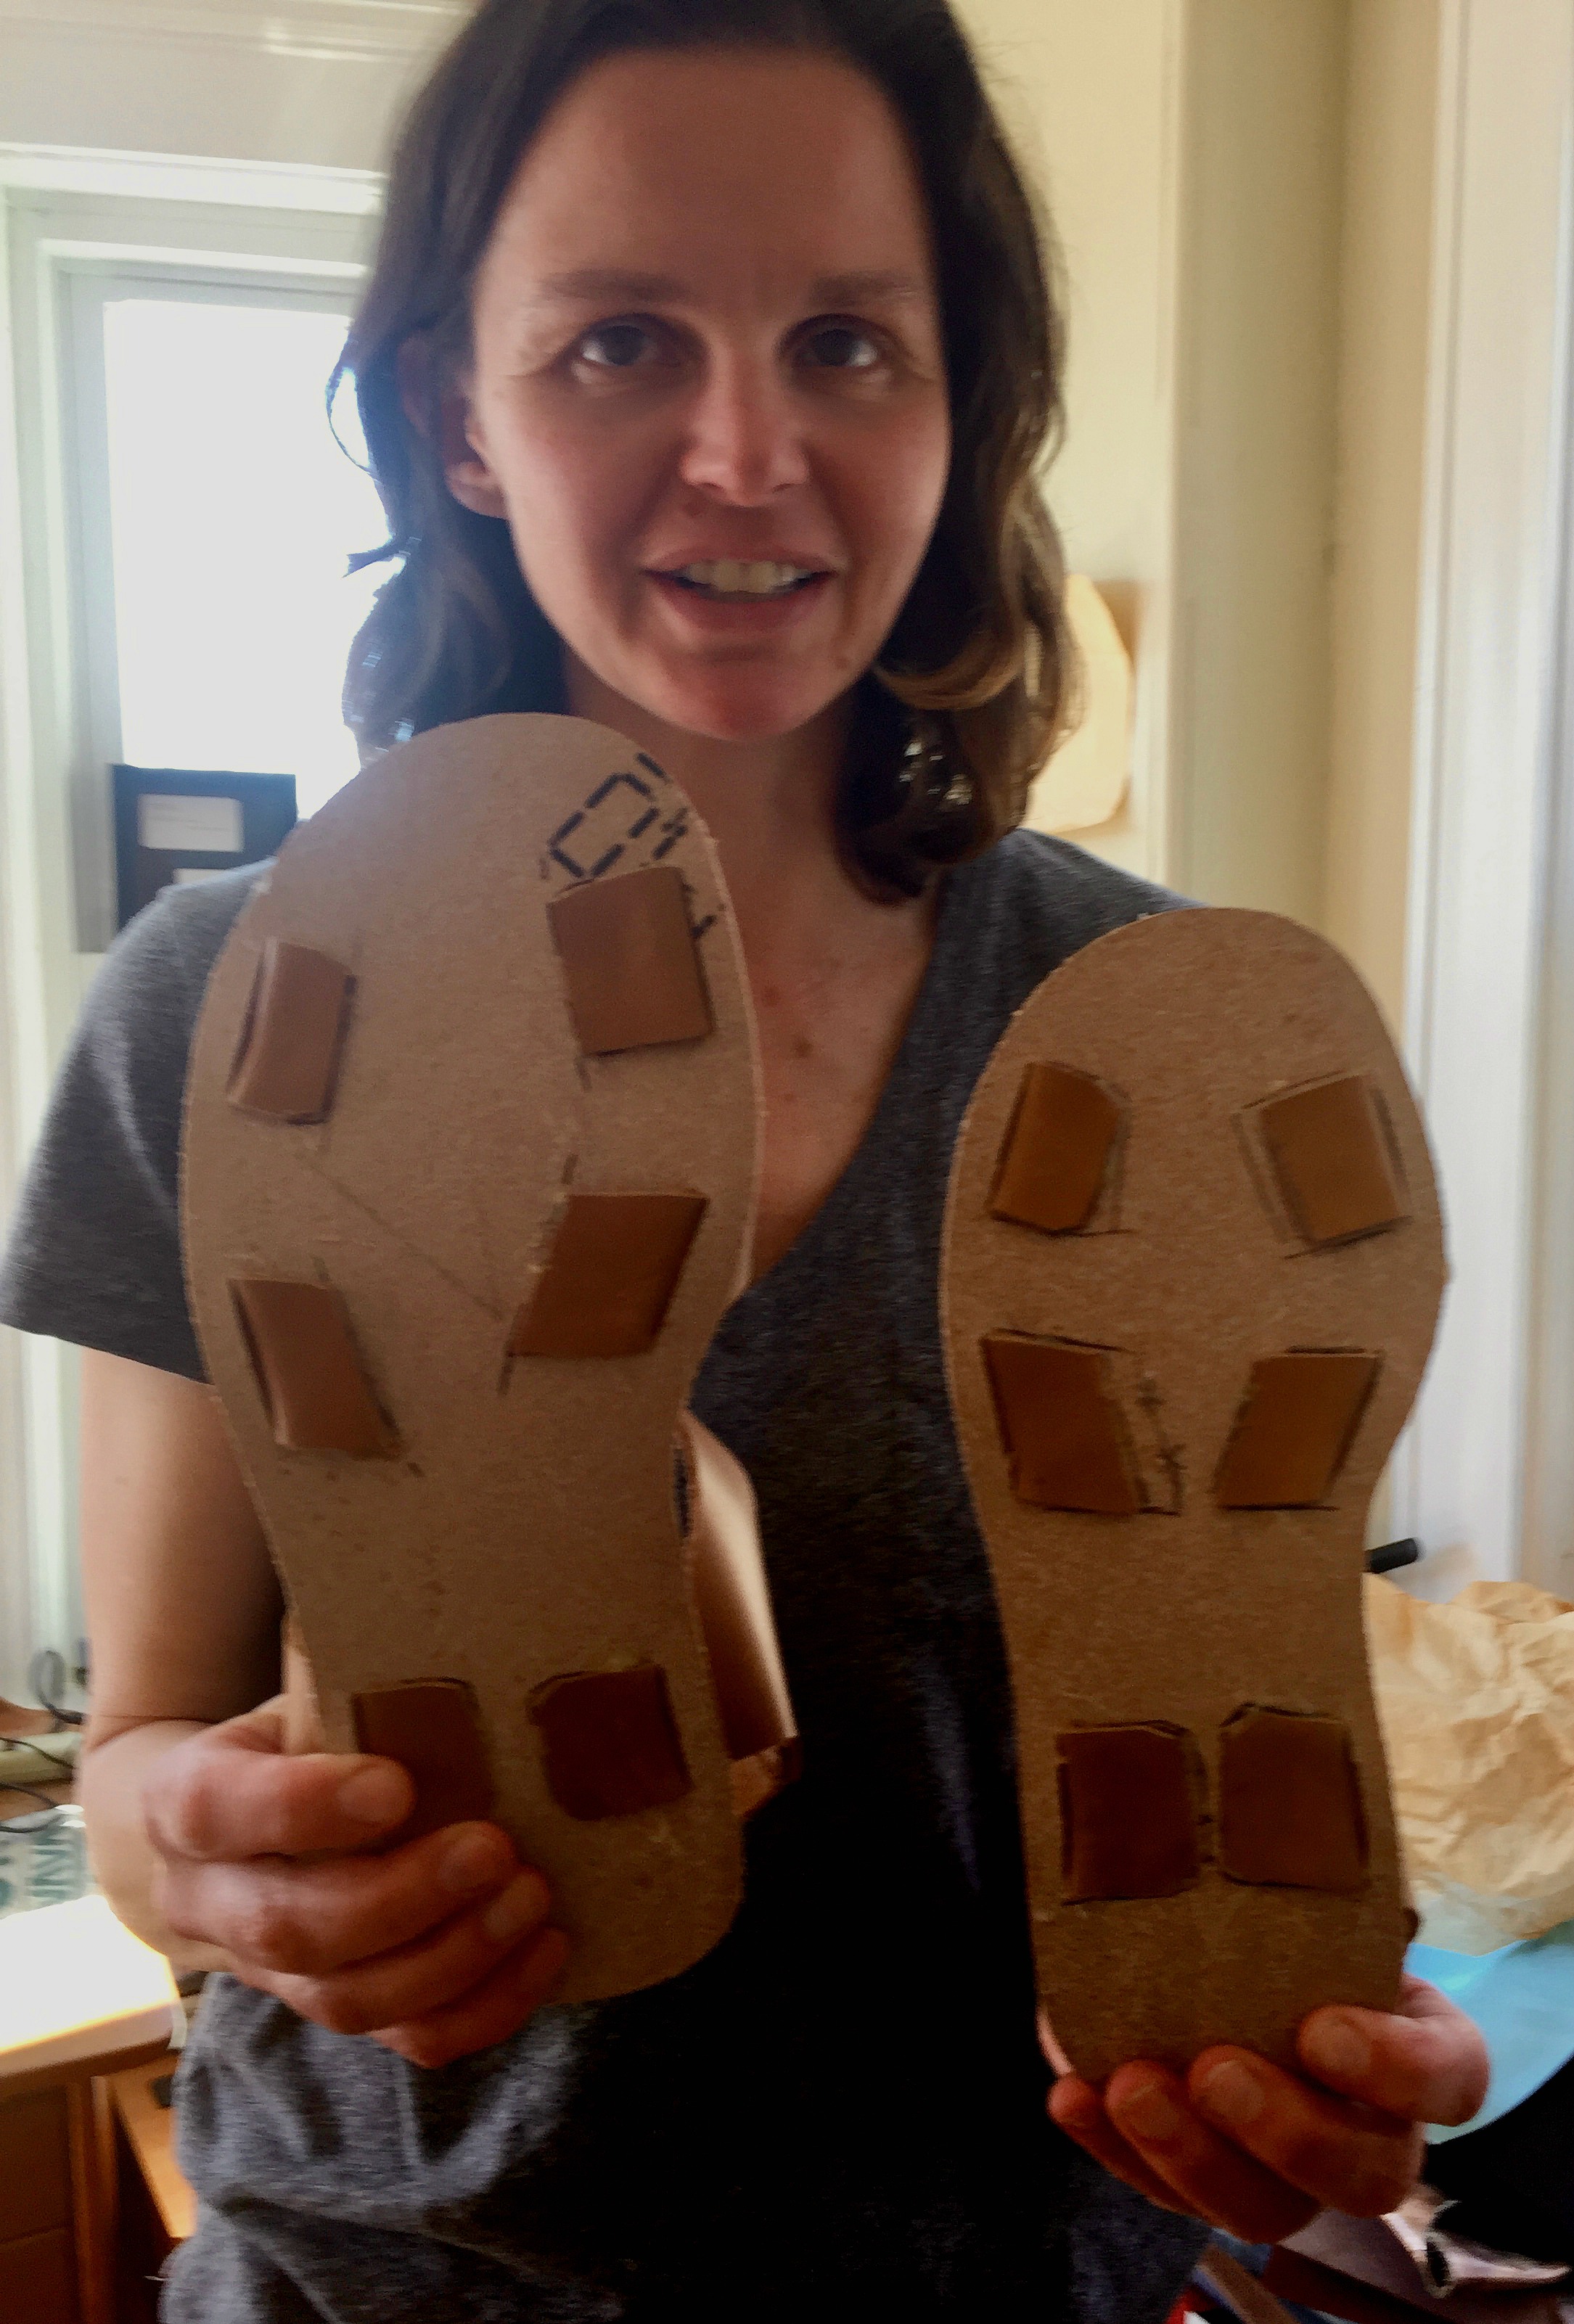
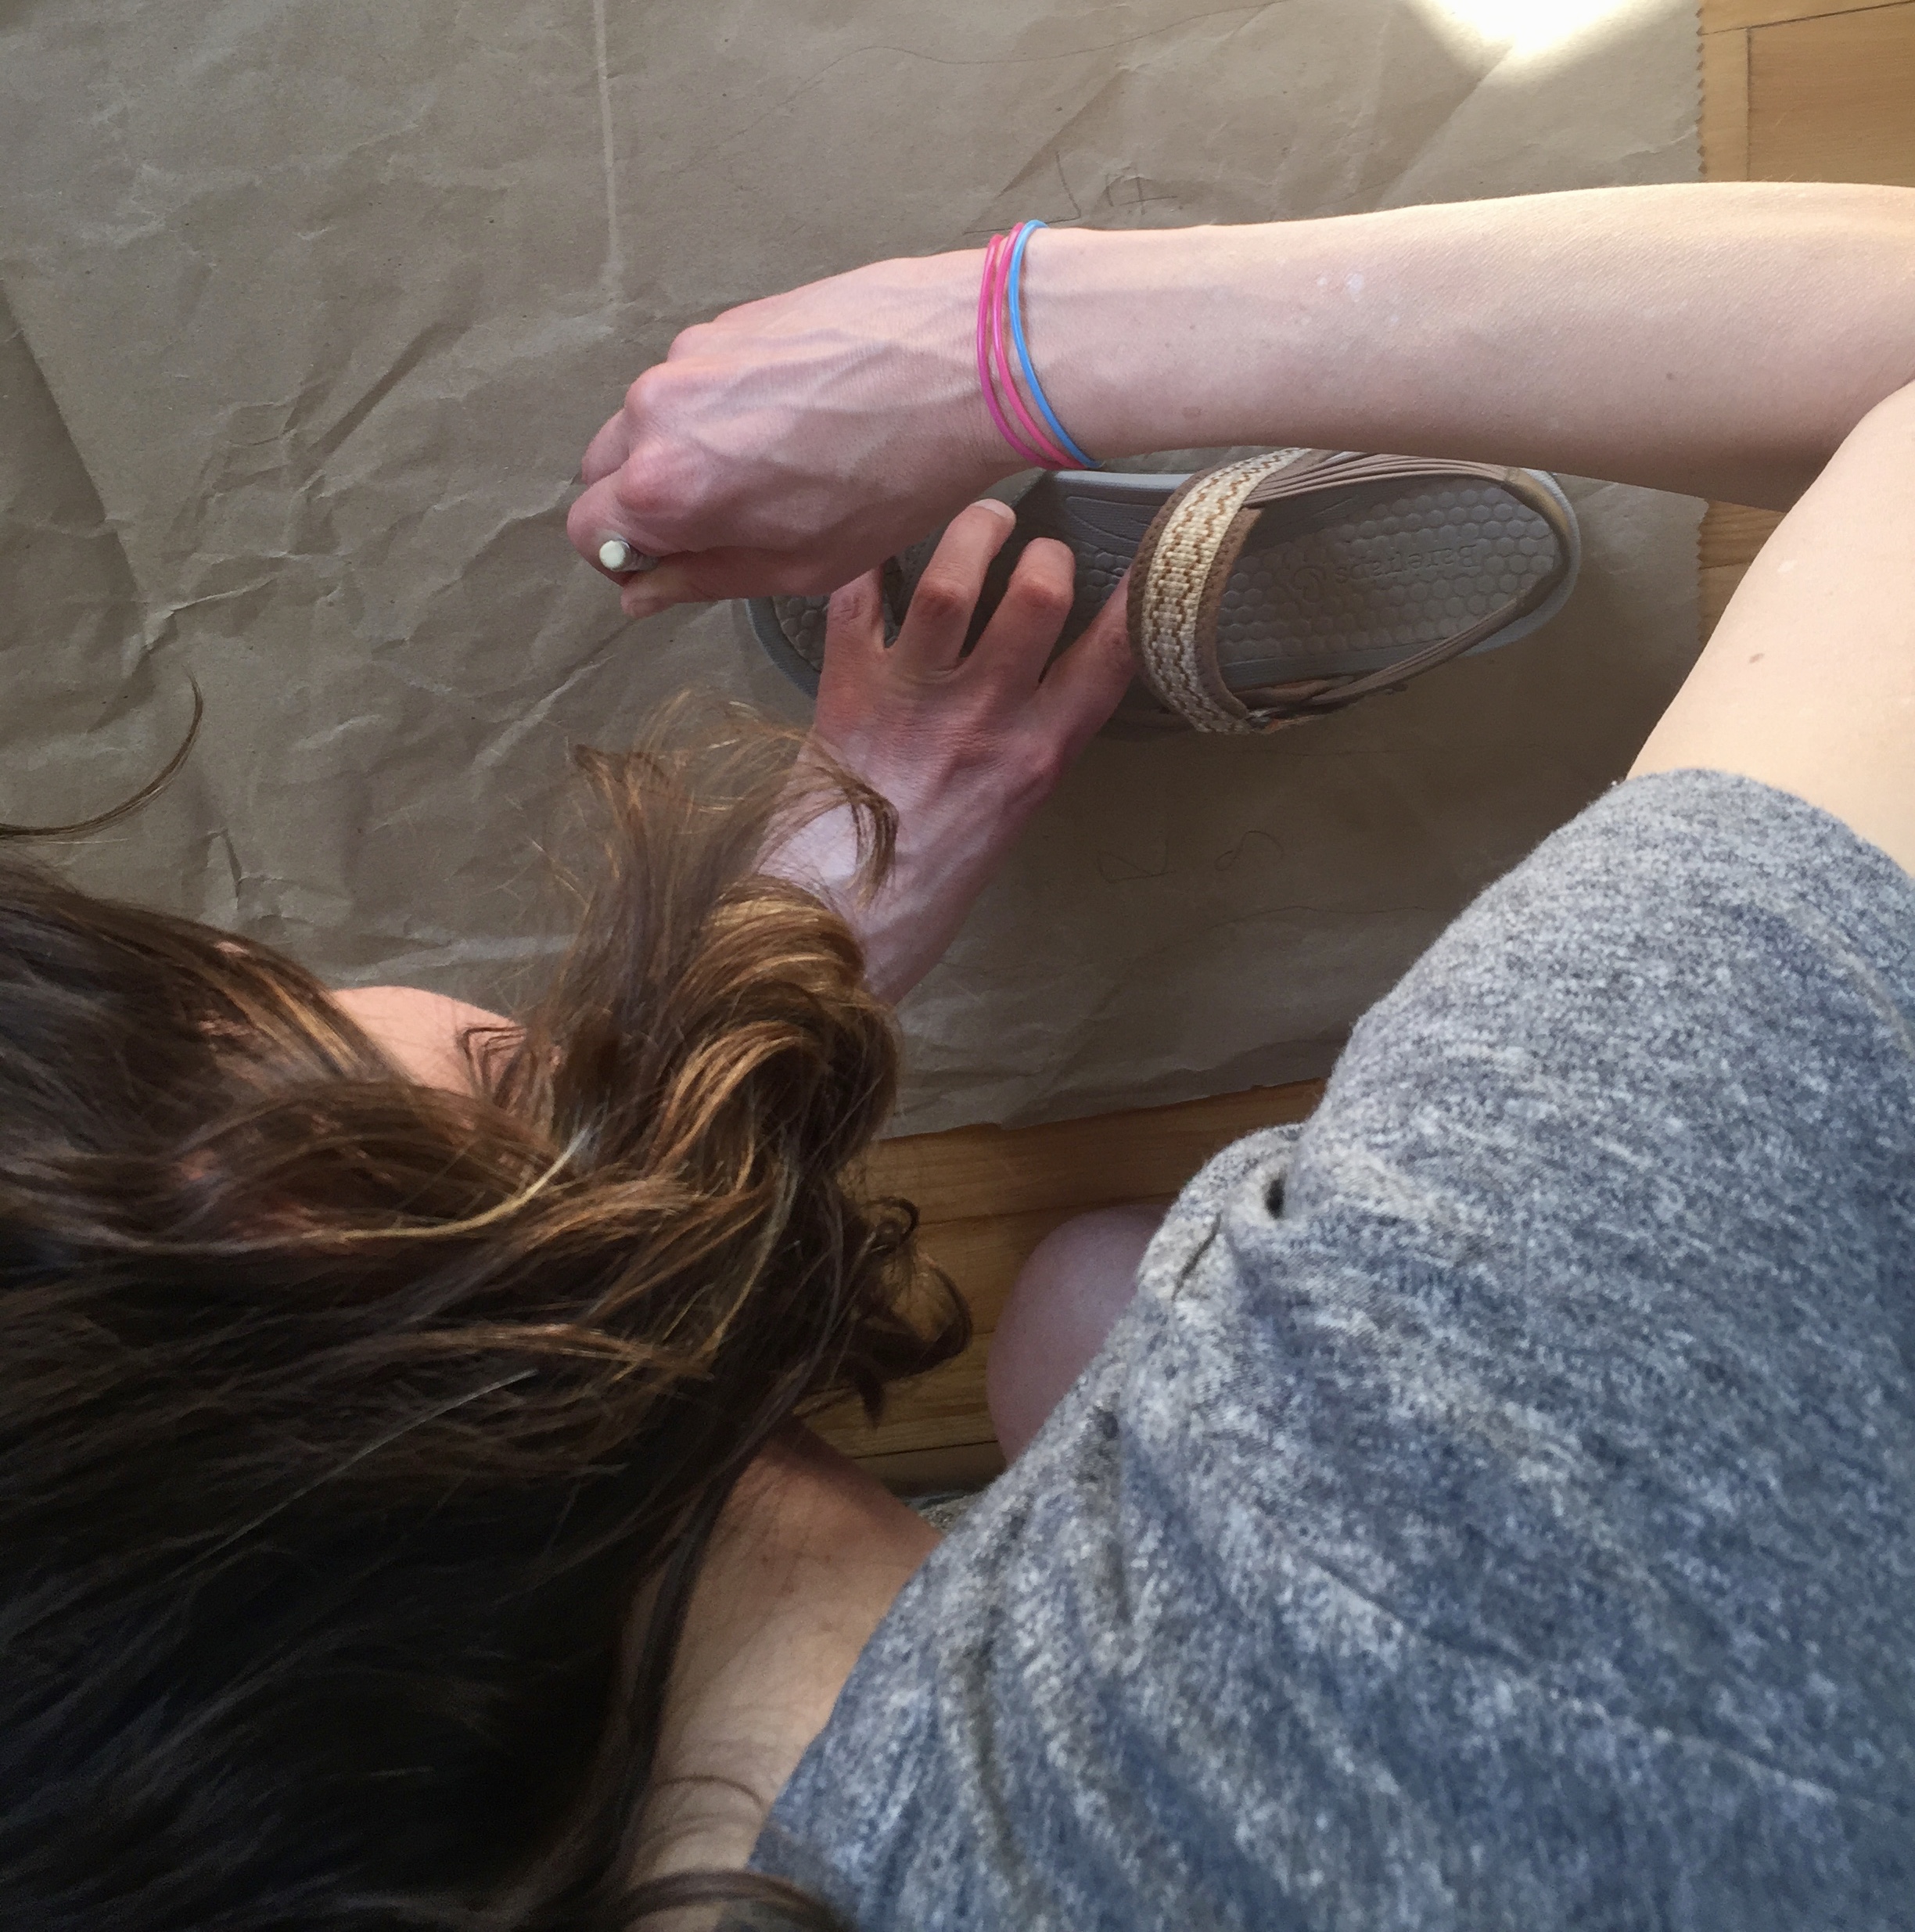
On brown craft paper, we traced my feet and the pair of sandals I had brought for sizing, then cut them out. Chrissy put the foot cut-outs on top of the sandal templates to see if we needed to make any adjustments. That’s the beauty of homemade sandals - you get to create the perfect fit.
You also get to create the perfect design, but that’s the hard part. We scrolled through pictures of sandals on line. I thought I wanted two straps across the top of each foot, and cut out “practice pieces,” but then didn’t like the way they looked when I wrapped those pieces around my bunion-plagued feet. I finally decided to default to one of her standard designs - simple, earthy, comfortable-looking.
Hopefully, my sandals will end up looking something like this (I haven’t decided yet whether I’ll add an ankle strap):
Once I chose my design, Chrissy set me up with a knife and a pattern for the straps, and I got to work tracing the pattern, then cutting out the straps.
And that’s as far as we got in our first session. More next time …
Chrissy has decided to share her passion for sandal-making with the world. She’s launching Empty Provisions, offering her sandals and bags. Realizing that if she wanted to have a bigger impact she couldn’t continue making each item by hand in her home studio, she found a high-quality manufacturer in Maine to produce her designs using Vibram soles and vegetable-tanned leather. If you’re interested in sandals that look and feel great and will last for years, check out her website.
So thanks, Obi! You led me to a new friend, and a project I never would have thought of on my own. I’m looking forward to wearing those sandals on our morning walks …
This one is free, thanks to Chrissy’s generosity.


